

Configuration Checklist
Complete in this order. Each step is detailed below.- Edit the Chert_Tenant.Default Custom Metadata record.
- Verify the Chert_Endpoint Named Credential.
- Assign the Chert Messaging User Permission Set.
- Activate the three Lightning Record Pages.
- Wire
ChertSendIMessageinto a Flow or button.
Custom Metadata — Chert_Tenant__mdt
The package ships one default record, Chert_Tenant.Default. It holds
the per-Org credentials for talking to the Chert API.
To configure: From Setup, enter Custom Metadata Types, click
Manage Records beside Chert Tenant, edit Default, and paste
the values. Click Save.
The record’s Protected Component flag should be true before any
managed package promotion. Protected metadata cannot be read by Apex in
subscriber Orgs that did not install the package, and cannot be exported
through the Metadata API by non-System Administrators.
Named Credential — Chert_Endpoint
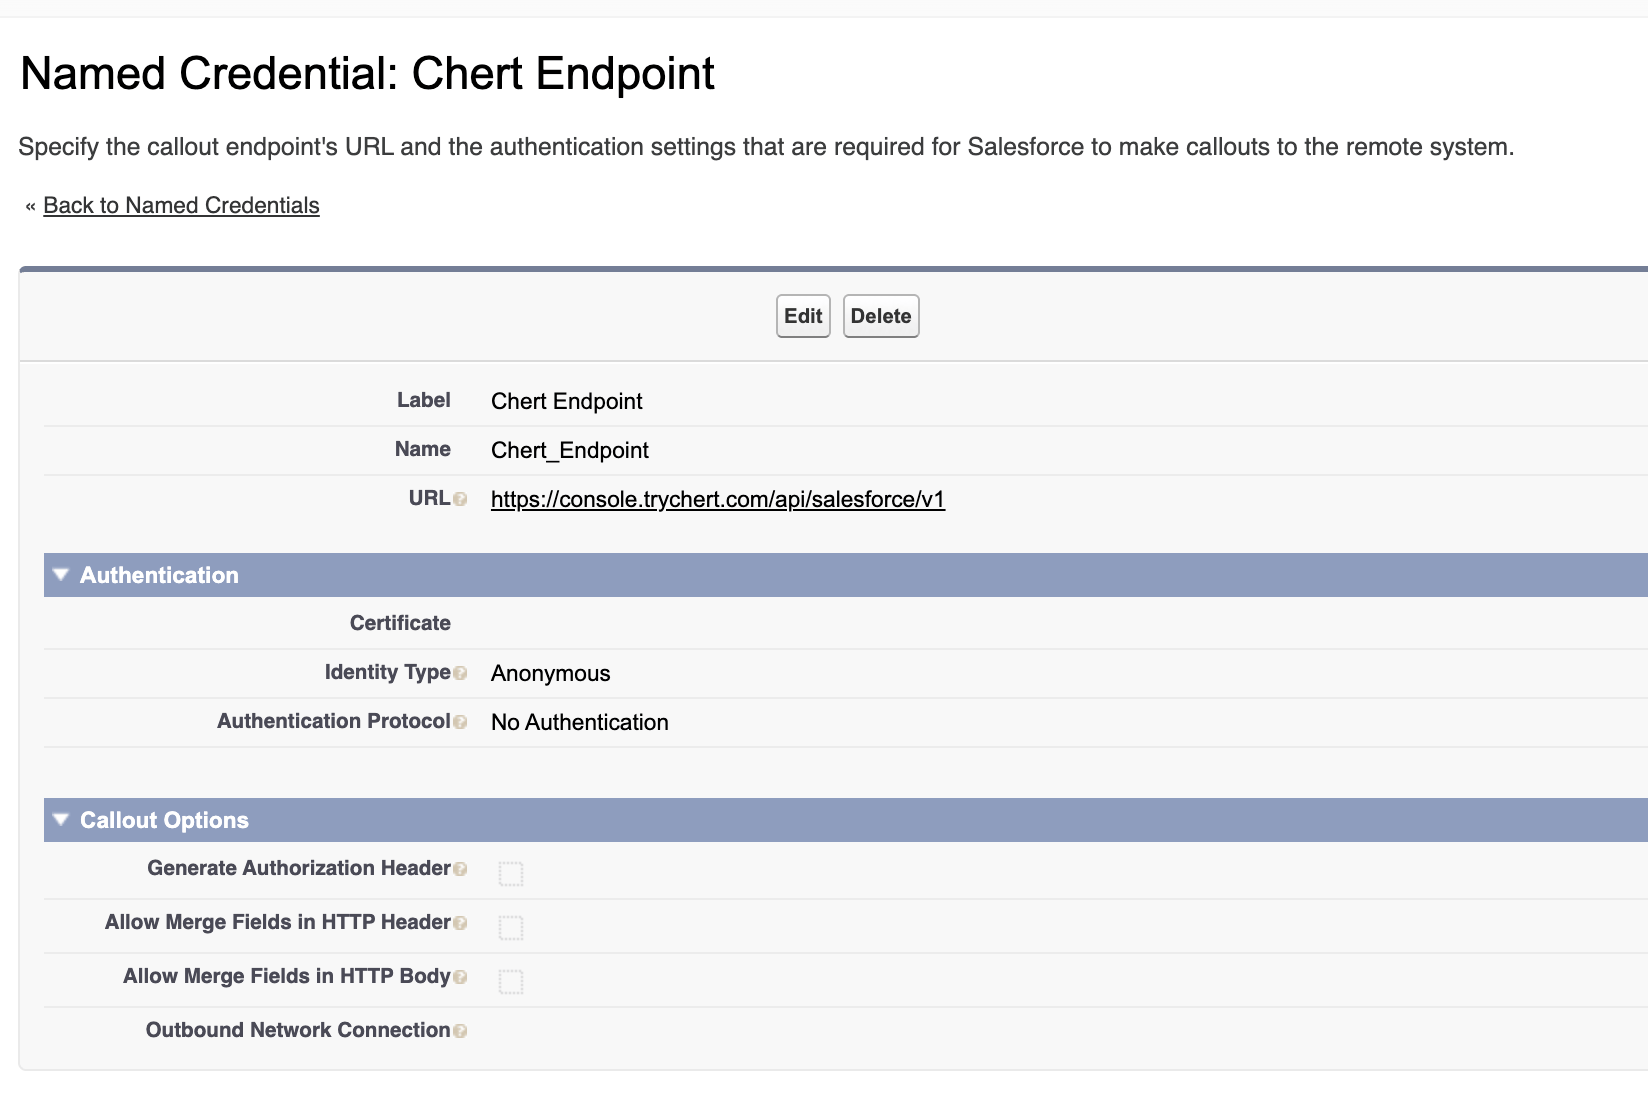
Setup → Named Credentials → Chert Endpoint after install.
Signing_Secret__c from Custom Metadata. The Named Credential exists to
keep the endpoint URL out of code and to satisfy the platform requirement
that Apex callouts use a registered endpoint.
If your Org connects to a regional Chert deployment, update the Named
Credential URL — do not edit Apex.
Permission Set — Chert Messaging User
Assigned to every user who will send iMessages or view conversations.
Salesforce best practice is Permission Set assignment, not Profile
modification; the package contains no Profiles.
To assign: From Setup, enter Permission Sets, click
Chert Messaging User, click Manage Assignments, click Add
Assignments, select users, click Assign.
For larger rollouts, group Chert Messaging User into a Permission
Set Group alongside any role-specific Permission Sets.
Lightning Record Pages
The package ships three Flexipages, each with thechertConversation component pre-placed.
To activate: From Setup, enter Lightning App Builder. For each
page, click Activation, choose the activation scope, and click
Save. Activation is per-Org — a sandbox-active page does not
auto-activate in production.
Quick Actions
Add either Quick Action to a Lightning Record Page or List View by
editing the relevant Page Layout or List View Button Layout.
Wiring ChertSendIMessage into a Flow
The invocable action accepts these inputs:
Outputs:
To use from Flow Builder, drop an Action element, search for
Chert Send iMessage, and bind the Lead’s
MobilePhone and a text
template to phone and message. Use the Lead Id as recordId.
See Also
- INSTALL for the prerequisite step.
- SECURITY for the trust boundary and HMAC format.
- ARCHITECTURE for what runs synchronously versus asynchronously.